About Water Heaters
The water heater isn’t something we give too much thought to, but we certainly use it every day. So, when your water heater isn’t working at top-notch, is water heater repair the best option? Or is time for a new water heater installation? The first question should be, “Is it worth repairing a water heater?” and depending on a few things, a professional plumber can give you advice.
The “rule of thumb” as they say, is 50/50. Meaning if the water heater repair cost 50% of what a replacement water heater will cost replacement is the better choice financially. Or, if you have had several repairs over the past year, or the plumber advises you of possible future water heater repairs within the next year, consider replacement instead. The age of your current water will have some impact on whether you should repair or replace it.
How do I know if my water heater thermostat is bad?
Other than the 50/50 “rule of thumb”, what are some other indications when to replace a water heater? There are obvious indications that water heater repair isn’t an option, but like all appliances in your home, the water heater will come to an end of life too. The following are strong indications:
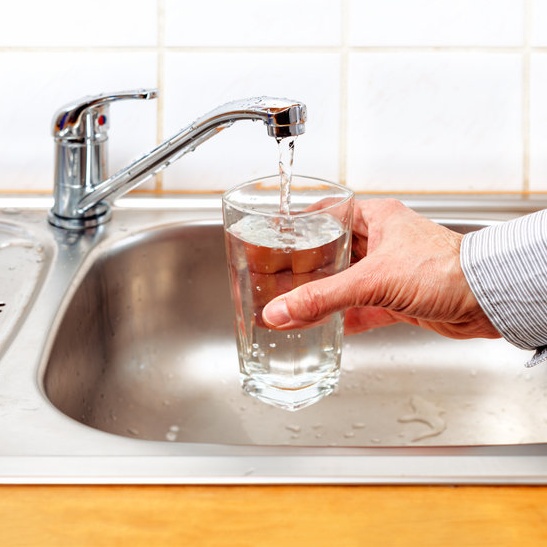
- Rusty Water: A water heater is made of steel, considered the strongest material possible. But it has two weaknesses: Corrosion and Rust. When a steek surface gets corroded, it slowly spreads, eating the steel, and then rust forms.
If you’re getting rust from the hot water faucets, you probably have a water heater with a rusted interior. This usually starts to happen between 8 and 10 years.
- Noise: Another indicator that your water heater is about to quit is a noisy tank. As a water heater ages, they begin growling and rumbling. These noises will get louder and louder, especially if your home has a high level of hot water requirements.
This is often caused by sediment build-up in the tank, caused by mineral deposits from the water. You can flush the tank and see if that quietens the noise. If not, you need to schedule a new water heater.
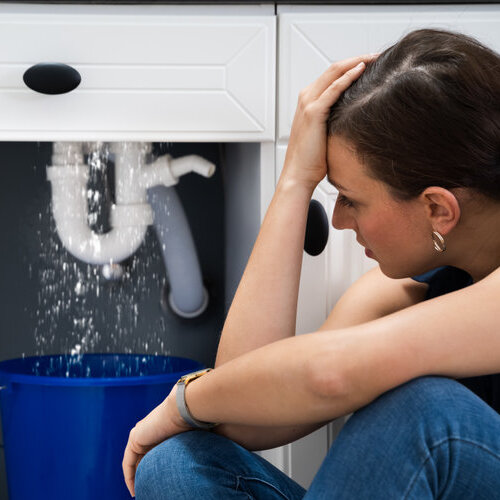
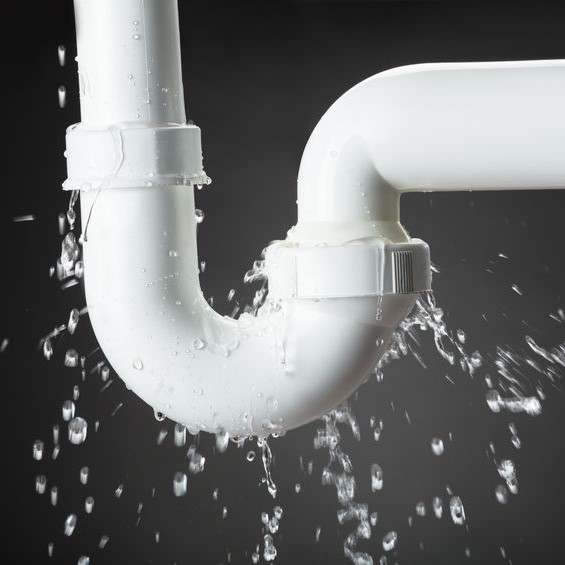
- Leaking: If your water heater is leaking from the top at the connections, easy water heater repair is simply tightening the connections. If the water heater is leaking from the bottom or sides, it needs to be replaced.
- Not Heating: A water heater not heating can bring your morning to a stop. Three possible causes of this are:
- Thermostat misadjusted
- Heating element broke
- Too small water heater
Easy water heater repair for the thermostat issue is to raise the thermostat setting. The heating element can often be replaced, by you or hire a plumber. If the water heater is too small for your home’s needs, then it is time to upgrade.
Which water heater is most efficient?
Most homeowners are looking for energy-efficient appliances to save money. Another upside that energy-efficient appliances provide is carbon footprint is reduced, helping the overall environment. In the past, High Efficiency was the rating manufacturers used to describe appliances’ energy efficiency, including water heaters. Today, the new industry-wide standard is UEF (Uniform Energy Factor).
Today, the industry states that the UEF rating for conventional electric and gas water heaters should be between 0.65 to 0.95 and certified by Energy Star. The heat pump water heaters have a 2.75 UEF rating and used 60% less energy than the conventional electric and gas water heater units. With that information, it is easy to see which water heater is the most energy-efficient type.
Is a tankless water heater worth it?
Full disclosure: Cost more upfront to have a tankless water heater installed vs a traditional storage-tank water heater. There is often the need for plumbing retrofitting and upgrading to the electrical or gas. The upside: Once you have the installation done, you can see saving immediately on your monthly water bill and energy bills.
Can I use an instant water heater for showers?
Yes, with limitations. While these give you on-demand hot water, if there is to much demand at the same time, the water need that is farthest away will be the last to get hot water and have it in the shortest amount of time. The best solution is to schedule dishes, laundry, and showers at alternating times.
Which water heater lasts the longest?
This is an upside to the tankless water heater system. They have an average lifespan of 20 years versus the eight to 10 years for electric or gas water heaters. And, they have very little need for water heater repair service calls, another plus.
Watering It All Down
Can a water heater leak gas? If it is installed correctly by a professional plumber, there shouldn’t be an issue with a gas leak. If you notice any gas leak, check the connection and if it is tight, evacuate the house and call 911, then call a plumber.
Drainmen Plumbing Inc provides professional water heater repair in Pottstown, PA. Call 484-366-9362 for assistance.